

|


|
|
|
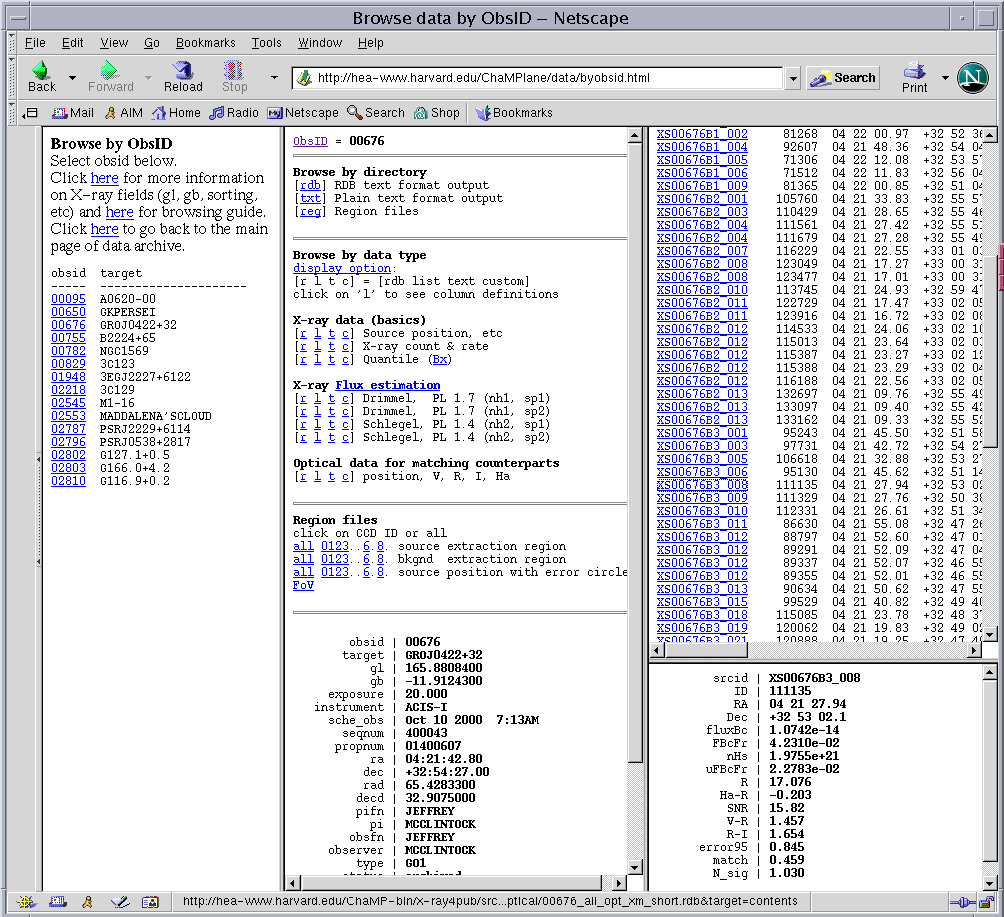
A Step-by-step Guide to the ChaMPlane X-ray database.This page provides a walk-through of the X-ray catalog interface which includes positions, error circles, fluxes, optical counterparts and much more.A webpage interface is used to choose field, data format and parameters of interest, to enable download of entire catalogs or investigation of individual source properties. We start out with the screenshot shown in the online appendix to our Introduction paper in ApJ, reproduced below. This shows the possible end-result of an investigation into the properties of a particular X-ray source that has a known optical counterpart. 
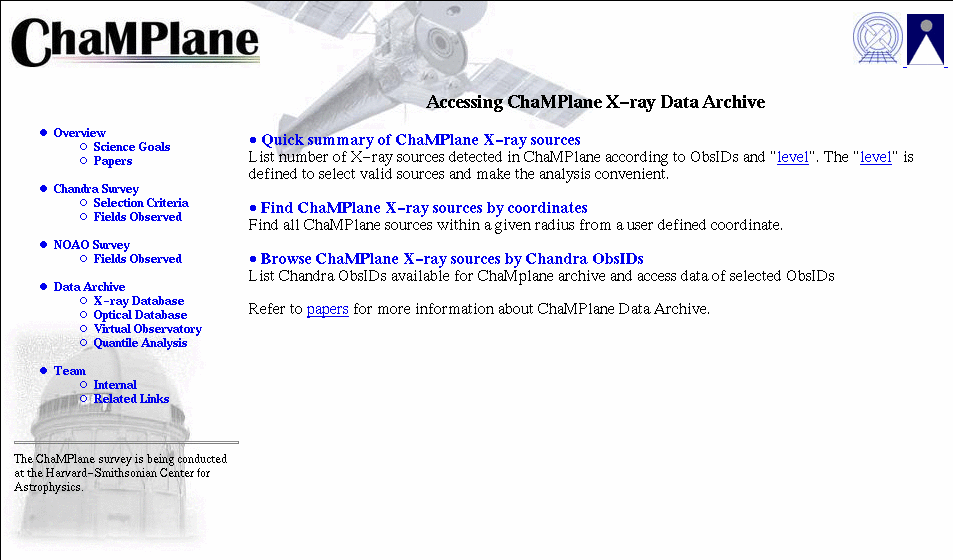
Step 1.Go to to the ChaMPlane webpage, and begin by opening the "X-ray Database" link on the left-hand side menu. You will then see the screen below.For this example, we will choose the "Browse X-ray Sources by Chandra ObsIDs" option. 
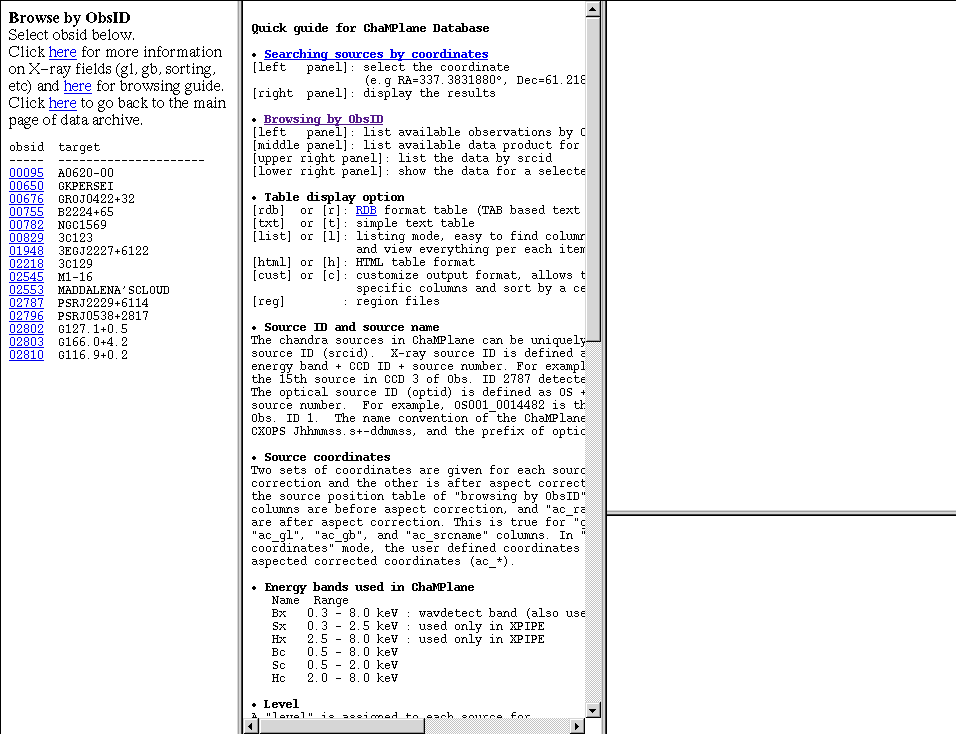
Step 2.You are now presented with the screen below, it contains 3 panels: the left panel displays the available fields, by name and ObsID.The middle panel provides a brief but detailed guide to the data products, and at this stage the right frame will be blank. 
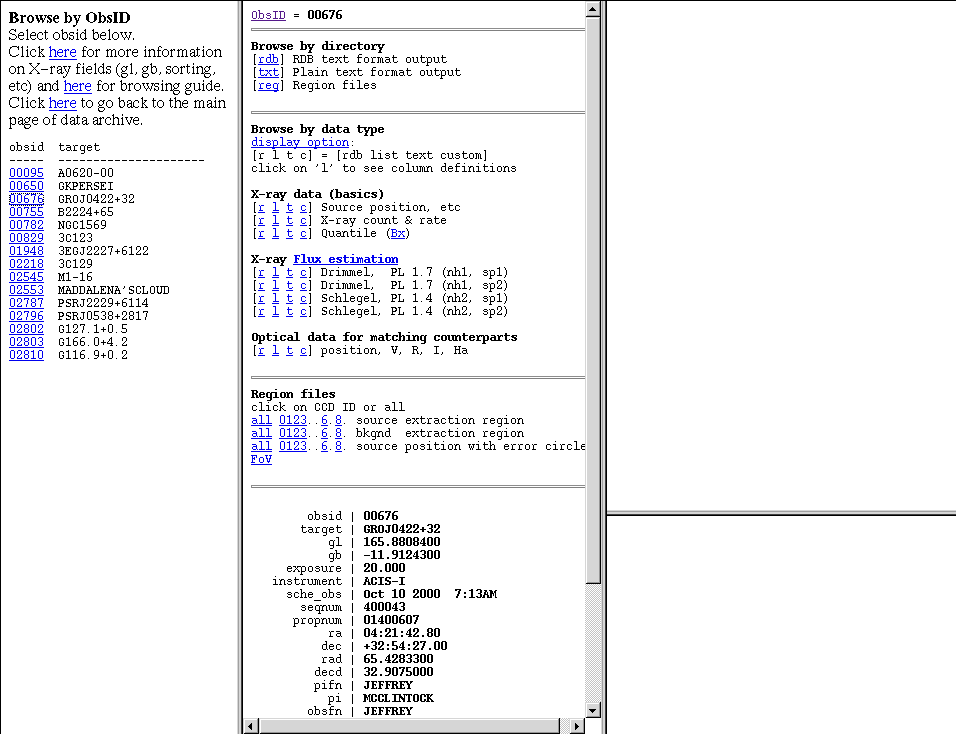
Step 3.After selecting an observation in the left panel, a set of links to its data will be displayed in the middle panel,along with quick summary of the observation parameters. Example below is for the field GRO J0422+32 (Obsid 00676). The data is in the form of a series of tables in a choice of 3 formats: RDB = unix/linux relational database format, basically tab separated columns with an acscii header. TXT = simple plain text space separated columns with header) REG = Regions files in DS9 format for display over any astronomical image with a suitable WCS (world coordinate system). 
Step 4. (the final step!)For this example we decide to display the catalog of X-ray\Optical matches, in plain-text format.This is done by clicking on the "t" link below "Optical data for matching counterparts". Now in the screen below, the right-hand panel displays the full catalog of sources with optical counterparts, and by clicking on the ObdsID links, one can view all the data for that individual source in the lower-right subpanel. Here we can see the magitude and colors of the optical counterpart, as well as its X-ray flux. 
At this point we have now duplicated the demonstration screenshot show at the start of this tutorial. As you can see there are many interesting parameters to be obtained from the database, all accesible in a simple intuitive manner. X-ray images, optical images, overlays and catalog searches can also be performed in the interactive ds9 virtual observatory. Go to the webpage and try your own searches ! |